Learn How to Master Extended Side Angle Pose (Utthita Parsvakonasana) in Easy Steps
Extended Side Angle Pose is the standing posture that uses all the muscles in the body. The sides bending poses in the yoga are often overlooked; they are not given much attention as other forward or backbends. But it is the side pose that allows you to better stretch muscles and leave us more balanced and calm. The name Utthita Parsvakonasana comes from 4 Sanskrit words that Utthita that means ‘extended’ Parsva means ‘flank’, Kona means ‘angle’ and Asana means ‘pose’.
There are many variations to this pose, but they are performed when the beginner becomes expert. If you are also a beginner and want to do Extended Side Angle Pose, here is the guide explaining the steps and benefits of performing the pose.

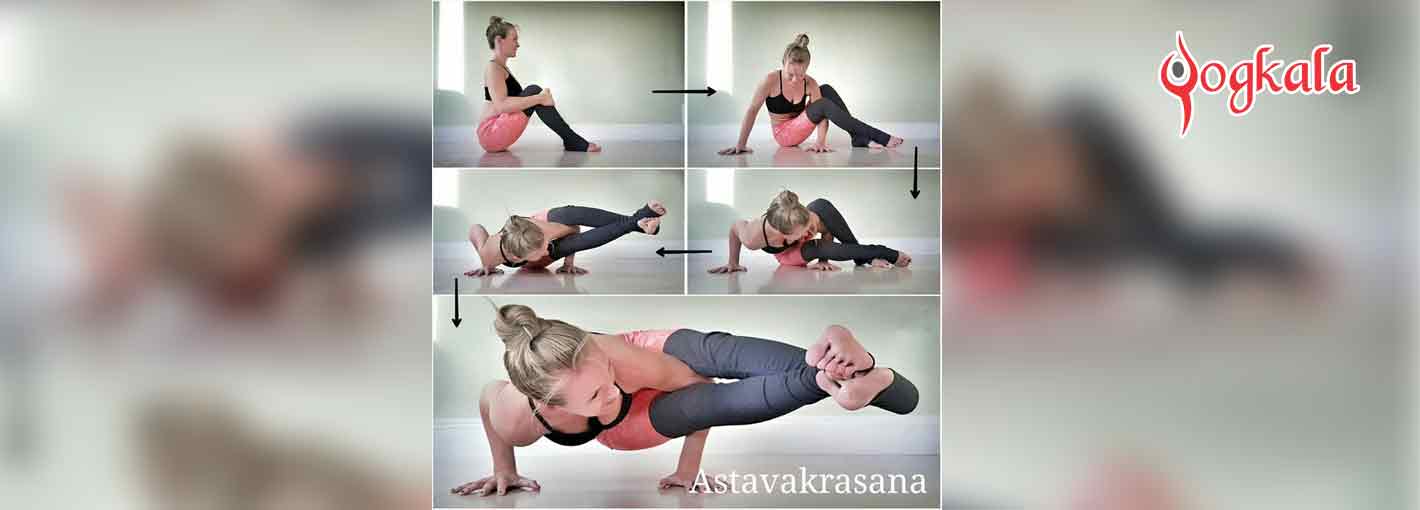
Image Source = “kristinmcgee”
Benefits of Doing Extended Side Angle Pose
• The pose is beneficial for those having stiffness in back and shoulders.
• The pose, when practiced regularly, improves stamina and also gives a deep stretch to hamstrings and groins.
• Extended side angle pose opens the body and relieves you from strain and discomfort.
• It is considered as the best pose and therapeutic for infertility, low backache, and constipation.
• The asana prepares your body for deep stretches so that you can easily do advanced poses like Wide Angle Seated
Forward Fold and Bound Angle Pose.
Easy Steps to Do Utthita Parsvakonasana
1. To begin the pose, come on a yoga mat in Mountain Pose. Now, turn to your right and extend your arms sideways with palms facing down.
2. Next, allow your left foot to turn outward at 90 degrees in a way that your toes point to the top of the yoga mat. Bend your left knee in a posture that it comes parallel to the floor. To make it comfortable turn your right toe slightly, align the heel of the left foot with right foot.
3. Draw your right hip forward, while keeping your torso open to the right. Make sure that you do not turn the whole body in the direction of the leg.
4. Lower your left arm in a way so that your forearms could rest easily on your left thigh.
5. Stretch out your right arm towards the ceiling and slowly extend the arm over the top of your head.
6. Correct posture is – your right bicep should over your right ear and your fingers should reach in the same direction.
7. Allow your head to look at the ceiling, keep your chest open, legs and hips in a straight line.
8. Lower your right hand to the floor, while placing your palm next to your front foot.
9. Just make sure that your knees do not drop inward. Press firmly through the edge of your back foot.
10. Hold the posture for 4-5 deep breaths and then release.
11. Repeat the posture with another leg.
The Yoga Pose Is Not Recommended In Following Conditions
It is recommended to avoid the pose if you are having high or low blood pressure, headaches or insomnia. Do not perform the pose if you have neck or head injury. Work within your limits and always do the yoga postures under the guidance of experts.