Learn How To Practice Salamba Sirsasana (Supported Headstand) & Explore Its Perks
The art of practicing yoga poses promotes healthy and peaceful life and Salamba Sirsasana is no exception. The word ‘Salamba Sirsasana’ actually belongs to Sanskrit dictionary in which ‘Sirsa’ means ‘head’, ‘Asana’ means ‘Pose’ and ‘Salalamba’ means ‘Support’.
This is one of the toughest poses and that’s why it is known as the king of all asanas. It requires complete inversion of the body in which we can only use forearms. According to the yoga expert, one can only practice this asana when the upper body is strong enough to hold the body weight.
Things You Should Know Prior To Practicing This Asana
Like most of the yoga asana, this asana must be practiced only on empty stomach. Just make sure that you have your meals 4 to 6 hours prior to practicing this asana. Well, for this particular asana, the ideal time gap between your meals and your practice should be 10-12 hours. And it is best to perform this asana in the early morning. If you can’t manage to perform it in the morning, then you can try it in the evening but just make sure that your bowels are empty.
How To Perform Salamba Sirsasana ?
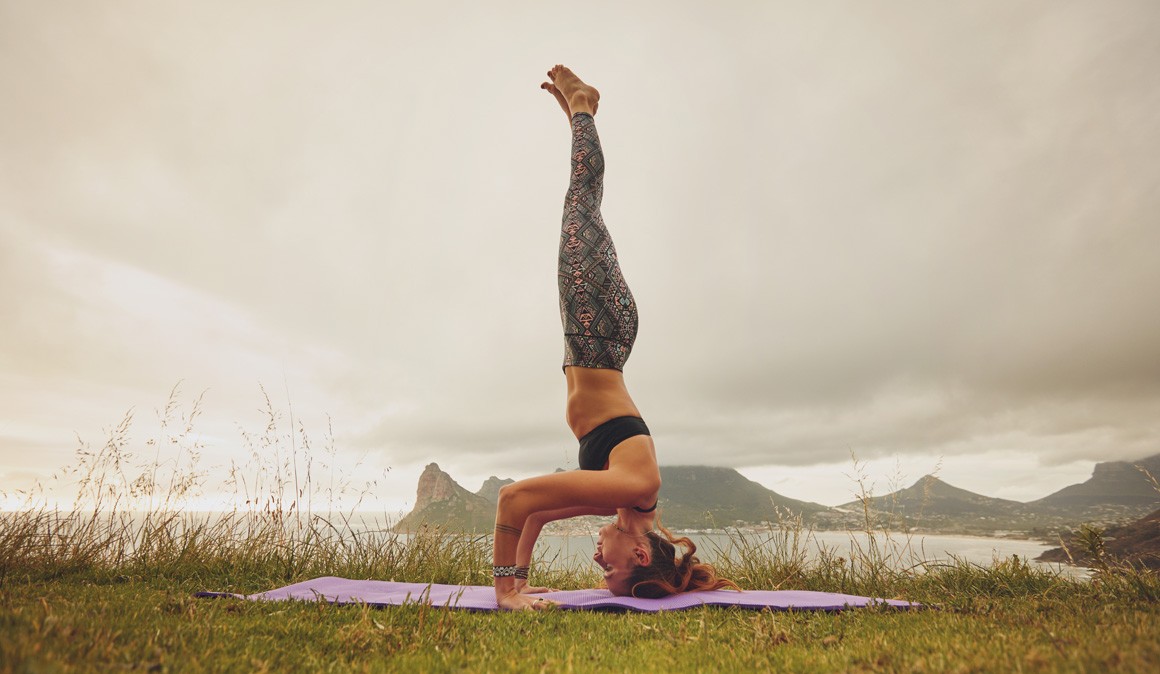
- First of all, take a soft, smooth yet thickset blanket and place it on the floor, using it as your cushion. Now come in the kneel down position and interlace your fingers just after you place your forearms on the floor. While doing so, just make sure that your elbows and shoulders are width apart.
- Now gradually and smoothly push your upper arms outward and then safely press your inner wrists on the floor.
- Gently place your head on the blanket that you are using as a cushion and then make a base with the help of your palms together and fit your head crown against your hands.
- Inhale and slowly lift your knees. Move towards your elbow with your heels lifted off the floor. Now make a reverse V with the help of your thighs (lift it gently).
- After that, push your shoulder blades at the back and lift them towards your tailbone. It will take care of the weight of the shoulders, head and neck.
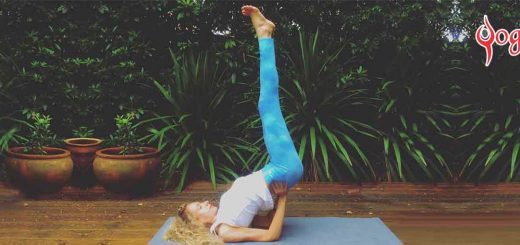
- While breathing out, lift both your feet off the floor and place the legs perpendicular to floor and keep your tailbone firm. Now push your heels up towards the ceiling and just make sure your body is in straight line.
- Keep your weight balanced on both your forearms. Hold the pose for about 10 seconds as a beginner. Keep increasing the time until you can stay in it, it can be up to five minutes or as long as you are comfortable
Points Of Caution You Need To Keep In Mind While Doing This Asana
- It is recommended to not practice this asana if you are suffering from back injury, headache, heart related issues, high blood pressure, neck injury and during menstruation time.
- People having low blood pressure issues should not start yoga with this asana
- Pregnant women should completely avoid this asana. Even if they want to perform this asana, then it is good to take advice from the doctor or any yoga expert and practice this asana under their supervision only.
- Whether you are a newbie or not, it is best to practice this pose only under the expert supervision.
Tips For Beginners To Practice This Asana
As we have already discussed, this pose is also known as the king of all asanas. So it is quite tough for the beginners. Often, beginner employs the wrong method that can harm their head and neck. So if you are a beginner, it is best to take help of the wall in your initial days of practice. As you practice, try to transfer more weight to your head. The process is long and will take time. Do it with all the patience.
Advanced Pose Variations
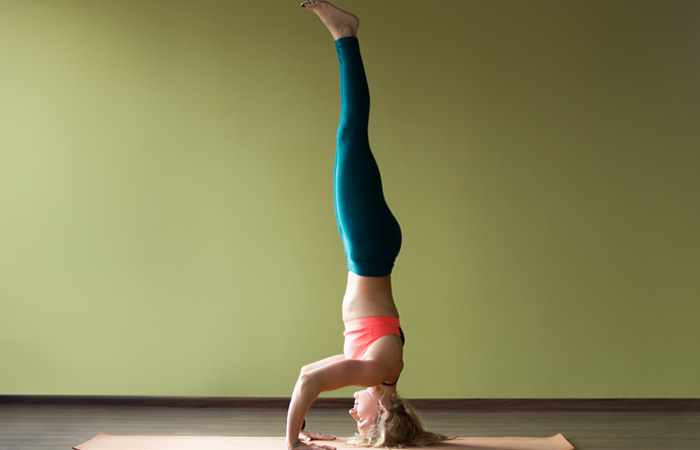
Once you have learned how to do Salamba Sirsasana, then you can try your hands on Eka Pada Sirsasana. But as for the variation, you can try Sirsasana II or Tripod Headstand. This asana is used as an intermediate pose as you come in and out of arm balances.
How To Do The Advance Variation Of This Asana?
- Start this asana with a tabletop position and then create the tripod position.
- Place your hands and shoulders width apart and make sure they are in line with your feet. Take your head to the mat just half a foot in front of the hands.
- While doing so, just make sure that your torso is straight.
- Now come to your triceps and press it towards one another. Keep your shoulder in downward direction and try to squeeze your arms with your belly.
- Now draw your knees in and let your arms rest. Build a ball with your body and slowly lift your feet to the sky.
- Gently lift your legs and make sure they are perpendicular to the floor. While doing this, just make sure your tailbone is firm.
- Hold your whole body as you straighten your knees. Press through the corners of your feet.
- Now hold the pose only for about 5 to 10 breaths and then release it gradually.
Perks Of Salamba Sirsasana Or Supported Headstand
There are many advantages of salamba sirsasana. Let’s have a look.
- As the asana is majorly based on the head, it helps in relieving mild depression, stress and also calms the mind.
- This asana improves blood circulation and stimulates the pineal and pituitary glands.
- Legs, arms, spine and lungs become stronger after practicing this asana regularly.
- If you want to tone your abdominal organs, then this asana is perfect for you.
- It also improves digestion.
- This asana helps in curing sinusitis, asthma and infertility.
- This asana is very effective for the reproductive system if regularly practiced. If you are suffering from menstrual problems and menopause issues, then it can help you.