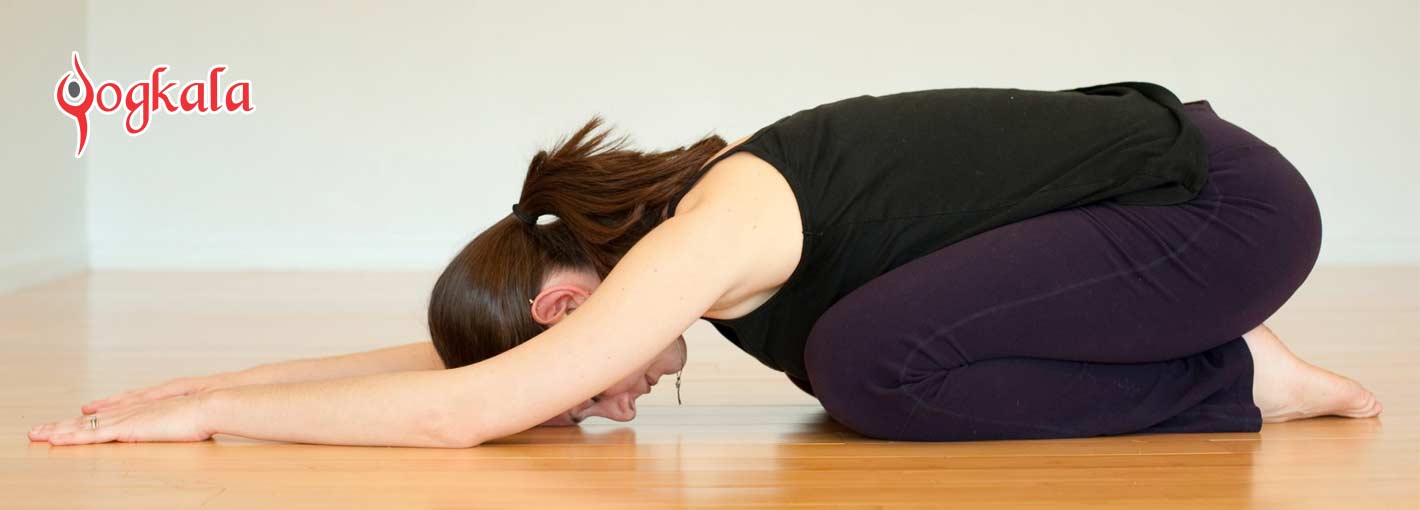
Garland Pose (Malasana) – Learn How to Do and Its Benefits
Squatting comes naturally to those who play in the fields; however, those having computer or desk jobs find it uncomfortable to do it. Garland Pose or Malasana is also sometimes referred to as Upavesasana; is an effective hip opening yoga posture and also creates mobility for daily activities.
It is a preparatory position for arm balance and is traditionally done to help you in meditation. Practicing Garland Pose helps you connect with the rituals of yoga and also leads you deeper into meditation practice. Hip flexibility has become a common issue for many people and sitting for long periods tighten the thighs which cause poor posture. If you are also experiencing this, then don’t forget practicing garland pose as it is really very effective posture to counter the hip problems.

Image Source = “trythis”
Benefits of Doing Garland Pose (Malasana)
• The pose gives a deep stretch to the hips, groin, lower back, and sacrum.
• It tones your abdomen and also helps in digestion.
• When practiced regularly, the Garland Pose improves circulation, blood flow in the pelvis and also helps in regulating sexual energy.
• It is much beneficial pose for women who are pregnant as it can help in childbirth.
• Garland Pose also strengthens ankles, tones the belly and ultimately improves metabolism.
Easy Steps to Master Garland Pose (Malasana)
1. Stand on the yoga mat with feet placed about waist width apart.
2. Now bend the knees and lower your butt to come into squatting position.
3. Try that your toes don’t turn (it is natural your toes will turn slightly)but don’t overdo.
4. Bring your upper arms inside your knees, bend the elbows and bring elbows together in praying position or in Anjali Mudra, this will help lengthen your torso.
5. Make sure that you keep your spine straight and your shoulders should relax away from ears.
6. Be in the posture for 5-6 breaths and then straighten your legs to come out.
7. Repeat the pose 3-4 times to take full advantage of getting warmed up.
8. To go further, try pressing your inner thighs against the sides of torso. Swing your arms forward to the sides and notch your shins into your armpits.
9. Then press your fingertips to the ground, or reach around the outside of ankles and clasp your back heels.
10. Hold the posture for a minute, then straighten your knees to come back in the original posture.
Contradictions:
Avoid doing this pose if you are having lower back or knee injury. It is recommended to do the pose within your limits. Consult your doctor before practicing yoga.